DIY closet shelves are one of the few home projects that can change your mornings immediately. A shelf at the right height keeps folded knits visible, gives handbags a proper landing place, and stops the floor from becoming a second hamper. You do not need a showroom-sized dressing room or advanced carpentry skills. You need accurate measurements, sturdy materials, and a storage plan based on the clothes you actually wear.
I learned this the hard way in my own Richmond closet. I built one long shelf because it looked clean in the sketch, then discovered that sweaters stacked six high became a soft, lumpy tower by Wednesday. The better solution was shorter sections, adjustable spacing, and enough clearance to see every layer. Every piece earns its hanger, and every shelf should earn its square footage.
Start with the wardrobe, not the lumber
Before shopping for materials, take everything out of the closet. Separate workwear, casual clothes, shoes, bags, and items that need repair. This is not a guilt exercise. A blazer you wear twice a week needs a different home from a beaded dress worn once a year.
Measure the closet’s width, depth, and height in three places because older walls are rarely perfectly square. Record the smallest width. Measure around baseboards, outlets, door trim, and any existing rod supports. For folded clothing, a shelf depth of about 12 to 16 inches is usually practical. Deeper shelves can swallow stacks at the back, especially black sweaters that all look identical in low light.
Think about reach, too. Daily items should sit between waist and eye level. Seasonal luggage and occasion shoes can go higher. If a shelf requires a step stool every Monday morning, it is not useful storage; it is an obstacle with good intentions.
Choose materials that can handle real clothes
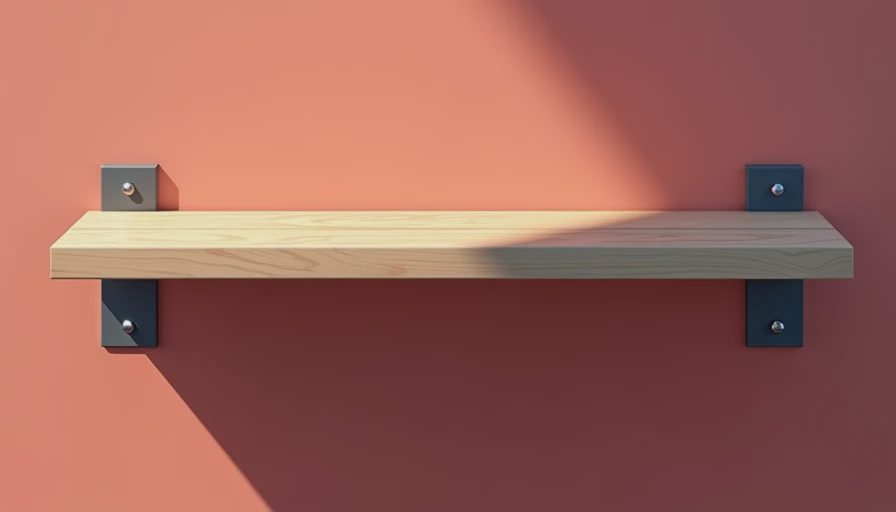
For most DIY closet shelves, laminated furniture board, melamine panels, pine boards, and painted plywood are sensible choices. Melamine is smooth and easy to wipe, with a finished edge that looks neat in a rental or first home. It often costs less than premium hardwood and does not need a complicated finish.
Plywood is stronger and more forgiving when you need longer spans. A 3/4-inch plywood panel can support substantial folded clothing when the span is properly supported, but the raw edges need sanding and paint or iron-on edge banding. Pine is accessible and attractive, though it can bow if you run it across a wide closet without a center bracket.
Wire shelving is inexpensive and allows air circulation, but it is not my favorite choice for fine knits. The grid can leave impressions in cashmere or lightweight merino, and small accessories need bins. Brands such as Rubbermaid and ClosetMaid offer modular kits that are useful when you want an adjustable installation rather than a custom built-in. Expect a basic reach-in setup to cost roughly $100 to $300, while a larger plywood project with paint, brackets, and hardware can reach $400 or more.
Build DIY closet shelves around clothing categories
A good arrangement is less about symmetry than speed. Put folded T-shirts and jeans on shelves near the main hanging section. Reserve a narrower shelf or cubby for handbags so straps do not slump onto the floor. Use a taller compartment for boots, and keep delicate shoes away from damp exterior walls.
For a work wardrobe, I like two or three medium-height shelves rather than one giant opening. One can hold merino sweaters, another denim, and another the trousers that need to be folded instead of hung. A small divider keeps stacks from leaning into one another. If you wear mostly dresses and jackets, use the shelving for accessories and leave more vertical space for a double hanging rod.
Do not design for an imaginary future wardrobe. If you have six handbags, do not build twelve dedicated cubbies because a magazine closet used them. Empty space can be useful, but oversized storage often becomes a place to hide purchases you forgot you made.
Install supports before loading the shelves
The most important part of DIY closet shelves is not the cutting; it is the support system. Locate wall studs with a stud finder and mark them lightly in pencil. Where a shelf does not align with a stud, use an appropriate anchor rated for the expected load. A shelf holding folded cotton, denim, and shoes weighs much more than an empty board suggests.
Cleats along the back and sides provide strong, simple support. Brackets underneath are helpful for longer shelves, but place them where they will not interfere with baskets or clothing. Check every board with a level before tightening screws. A slight slope is annoying when a stack of sweaters slowly migrates toward the closet door.
For a rental, a freestanding modular system reduces wall damage. For a permanent home, well-fastened cleats and painted plywood can look built in for a fraction of a custom millwork quote. Plan the rod and shelf installation together so a bracket does not block a hanger or force your favorite blazer into an awkward angle.
Make DIY closet shelves easy to live with
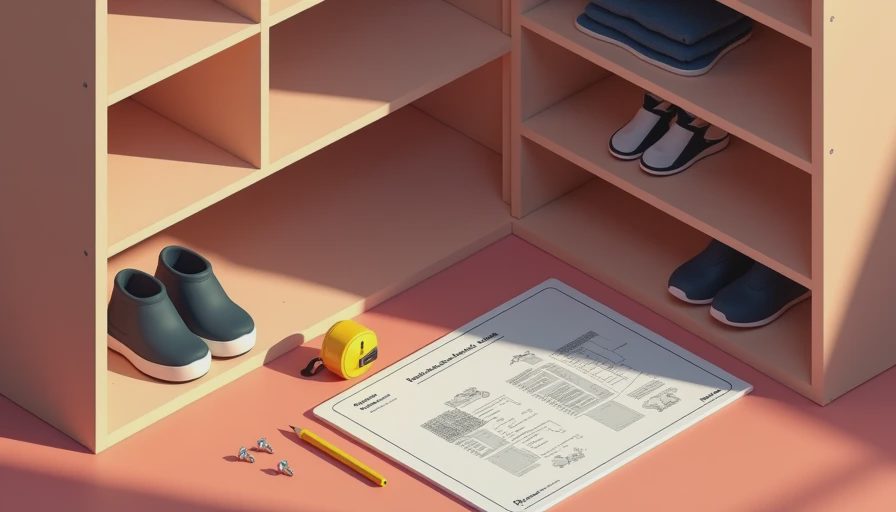
The finish details determine whether the project stays useful after the first enthusiastic weekend. Sand rough edges, especially where silk, rayon, or fine knits may touch the board. Add clear shelf liner to painted surfaces if you want less friction when pulling out folded pieces. Labeling is optional, but a small bin for belts, scarves, or swimwear prevents those categories from spreading across every shelf.
Leave a little breathing room between stacks. Clothes need enough space to come out without disturbing the next pile. I prefer stacks of four to eight items, depending on fabric thickness. A shelf full of tightly compressed cashmere is not efficient; it is a future wrinkle problem.
If your closet is narrow, consider pull-out baskets or shallow drawers for underwear and workout clothes. If it is tall, use the upper shelves for luggage, garment bags, and cold-weather accessories. A sturdy step stool belongs nearby, not balanced on a shoe box during a rushed morning.
A practical weekend installation plan
On Friday evening, measure twice, sketch the shelf heights, and make a supply list. On Saturday morning, buy or cut the boards, sand the edges, and paint if necessary. Allow the finish to dry fully before installation; rushing this step leaves fingerprints and tacky surfaces.
Saturday afternoon is for locating studs, attaching cleats, and checking levels. Install the longest shelves first, then add dividers or baskets. On Sunday, return clothing by category and test the arrangement during an actual outfit change. Can you reach the jeans while holding a coffee? Can you see the sweater colors without pulling out the whole stack? Those answers matter more than whether every gap matches perfectly.
DIY closet shelves should support the way you dress now, while leaving enough flexibility for a thoughtful addition later. A $200 project that helps you wear the clothes already in your closet is more valuable than an elaborate system that only stores more. Build for visibility, protect the fabrics you love, and make the daily decision easy. That is how a closet becomes a working wardrobe, not just a room with a door.


No comments yet — be the first to share a thought.